Your Cart is Empty


Our guide to placing prints into your portfolio book
Answers to your questions on print sizes.
All artists want to present their work to the highest of standards and therefore we have put together this guide on the best practice to placing your prints into your portfolio book.
Always remember, We build your portfolio around the size of the media you are placing inside it.
If you are placing an A3 landscape page directly into your portfolio, we will base the size of the portfolio cover on a 297mm x 420mm sheet. If you are using Hinge Strips on your prints, then we will add an extra 25mm to the width of the portfolio cover and like wise, if you are using Page Protectors, the cover will be wider and longer again. As a warning (I know a bit early to be issuing warnings, but) if you were to state on your order that your portfolio will not have page protectors and you later decide to use page protectors, you'll find that the portfolio cover is a little too small for your prints.
Margin (Gutter) Size
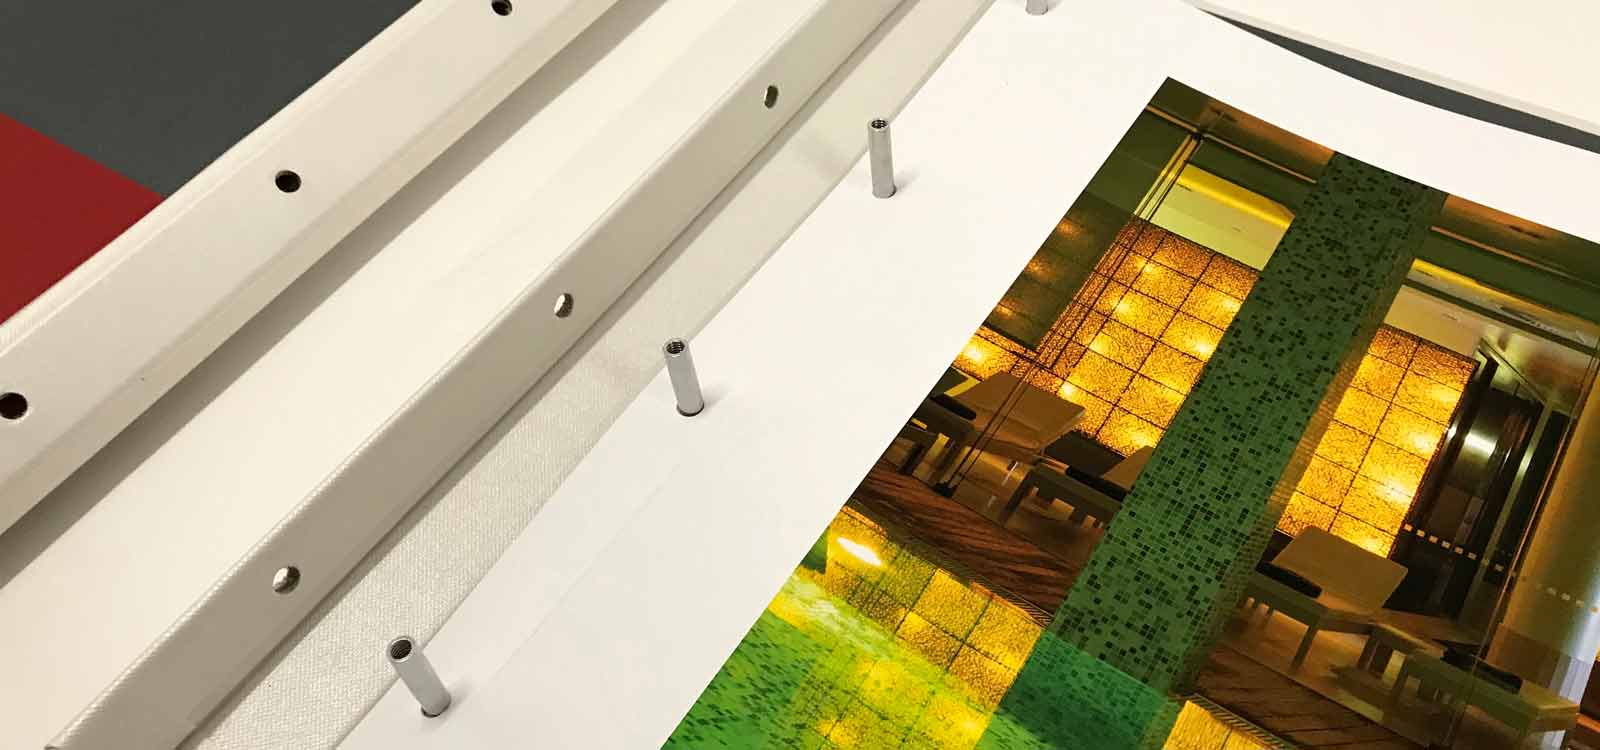
For screw post portfolios, When laying out your images on the page, remember to include a 2.0 - 2.2cm left hand margin for your holes and cover, (i.e. Don't print to across the whole page!)
If you follow the steps below, you'll be good to go!
1. First you begin by adding in a 2 cm margin onto your print for your full piece to be shown once placed inside the portfolio. (we suggest 2.2 cm margin to ensure your work in fully on show)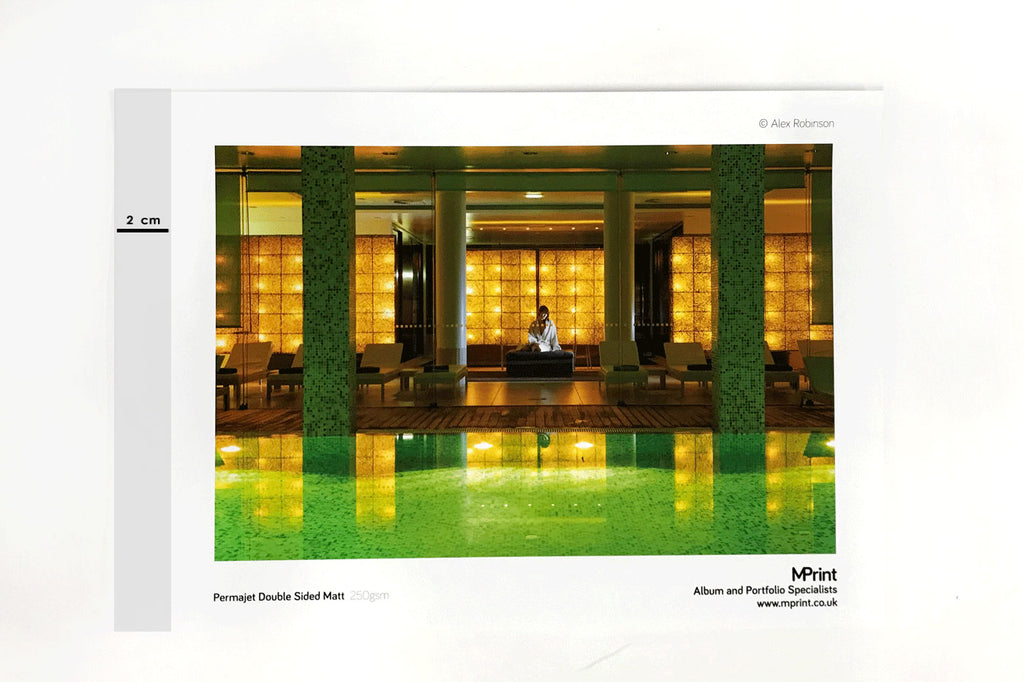
2. Once your print has been printed out, you can hole punch into the centre of the 2 cm margin.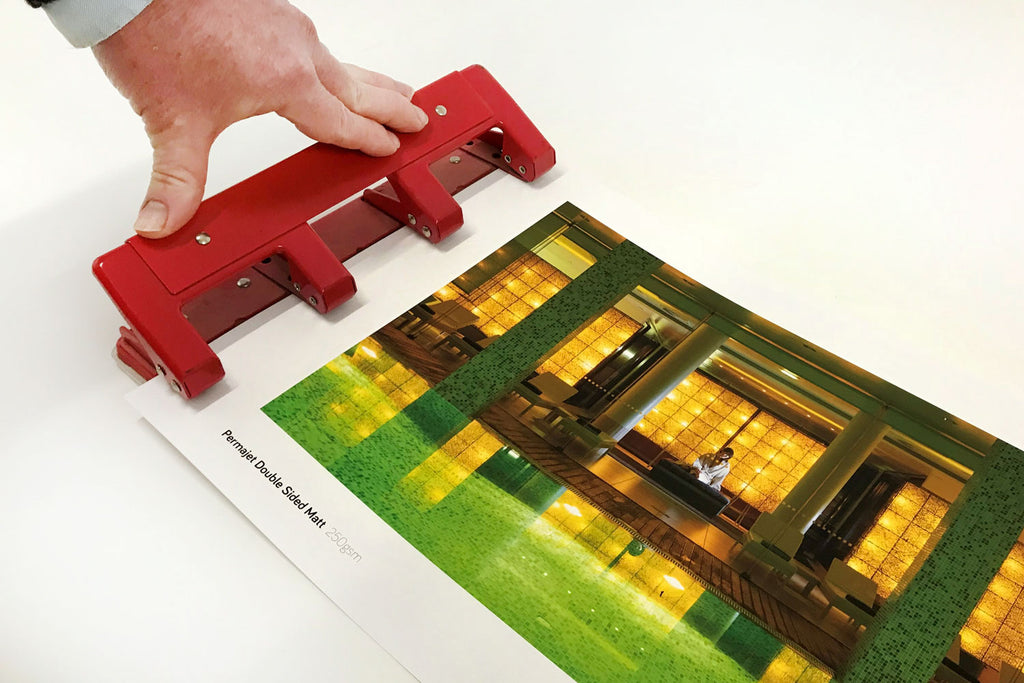
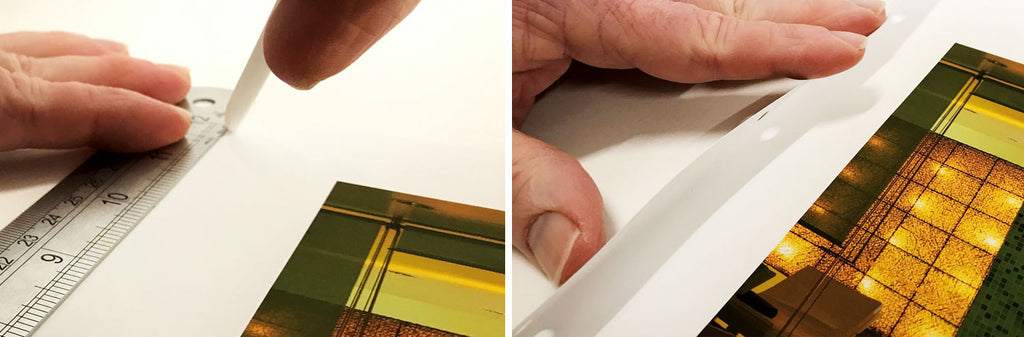
3. Measure 2.2cm's from the left hand edge of the page - If you can, use dividers as they will pre-score a folding line in your page.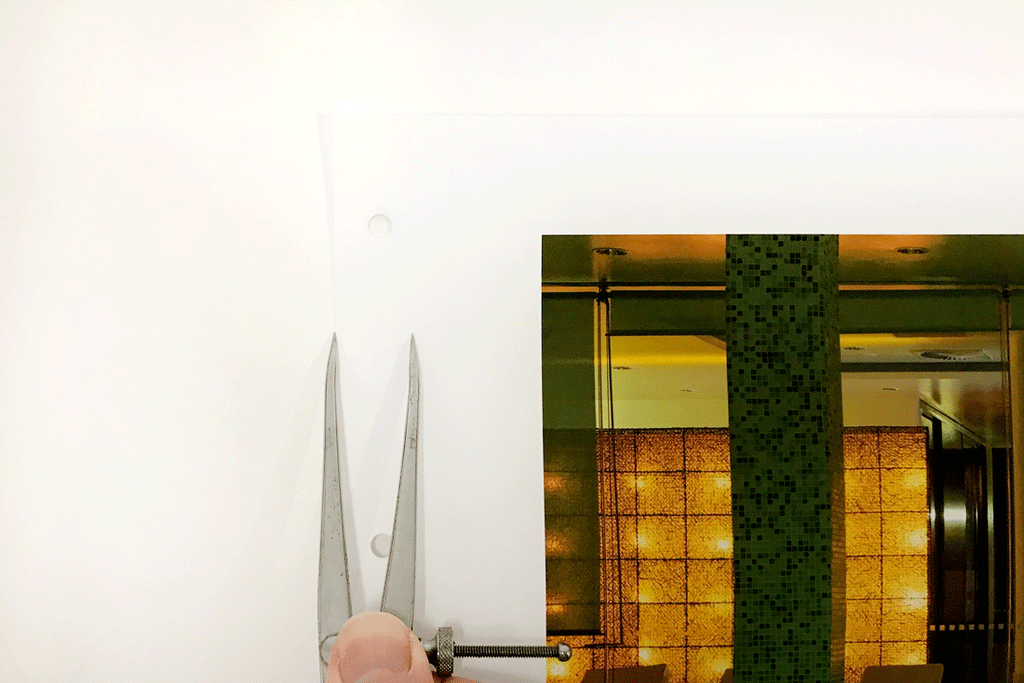
4. Place a ruler along the edge of your scored mark and then run a bone folder along the edge of the ruler into the pre scored mark. This creates a deeper crease (scoring). Don't over do it! You are not trying to cut the page, just creating a neat crease
Once you have done that, fold the edge of the page to make it neat.
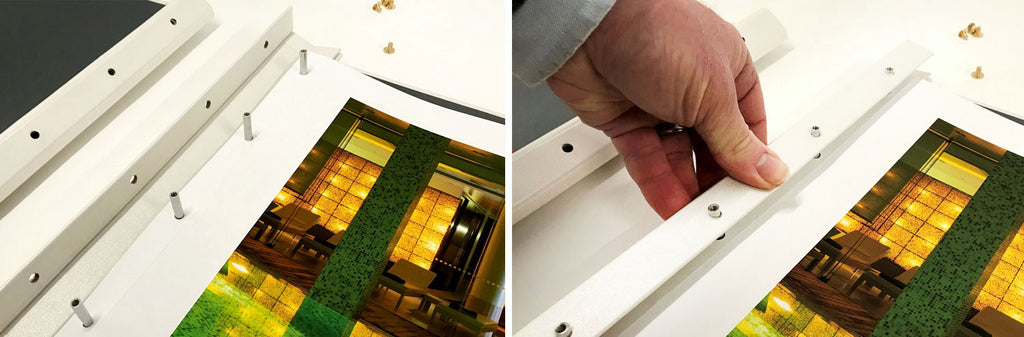
6. You can now place your prints into the portfolio.
You should now be able to see your artwork in whole.
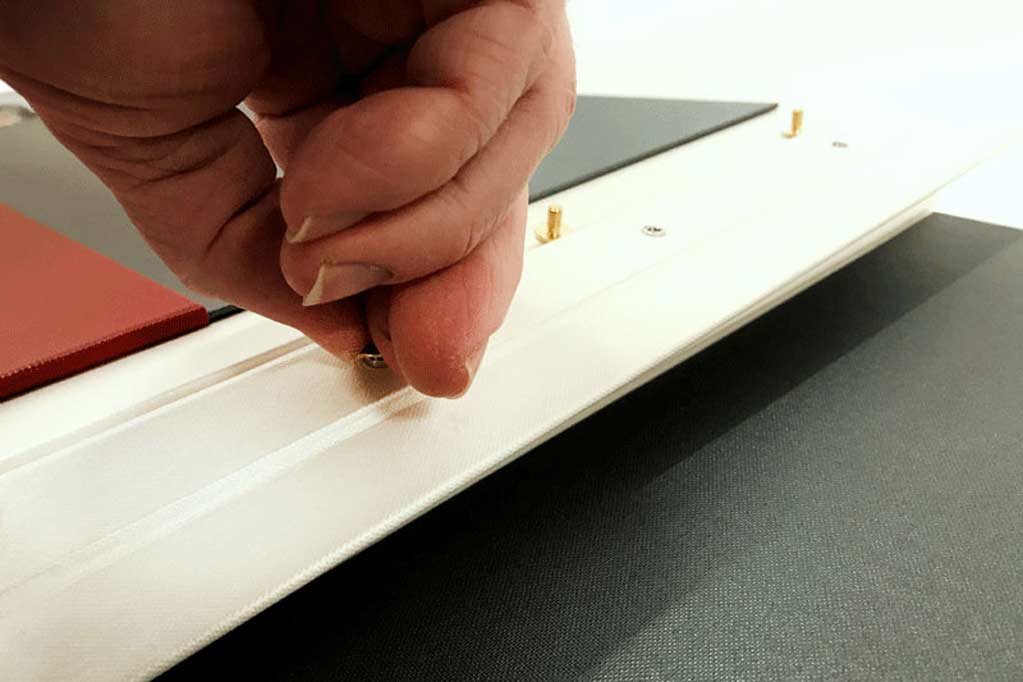
Another simple step to keeping your portfolio at the highest standard is by adding hinge strips to all your prints. Hinge strips will keep your work at its finest state for longer, and are incredibly simple to add. To view our guide on using hinge strips click here.
As you might have noticed, the pages we've used were printed by M Print Portfolio Printers in London - They're one of our partners and specialise in very high end portfolio printing. You can find them here
We also have a handy guide about buying the right photography portfolio which can be found here
If you have any questions, please contact us at info@hartnackandco.com