CREATIVES
BUSINESS
HOSPITALITY
VEHICLES
January 18, 2018 2 min read
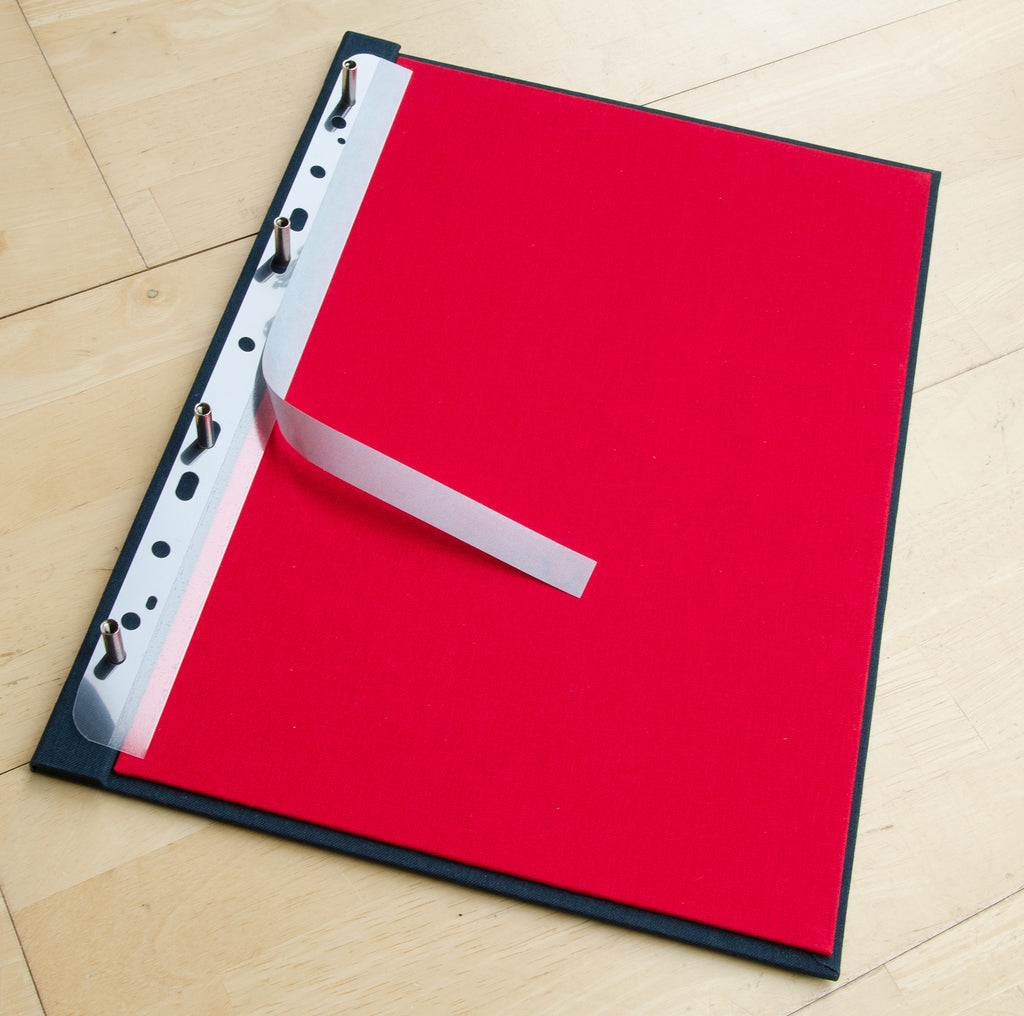
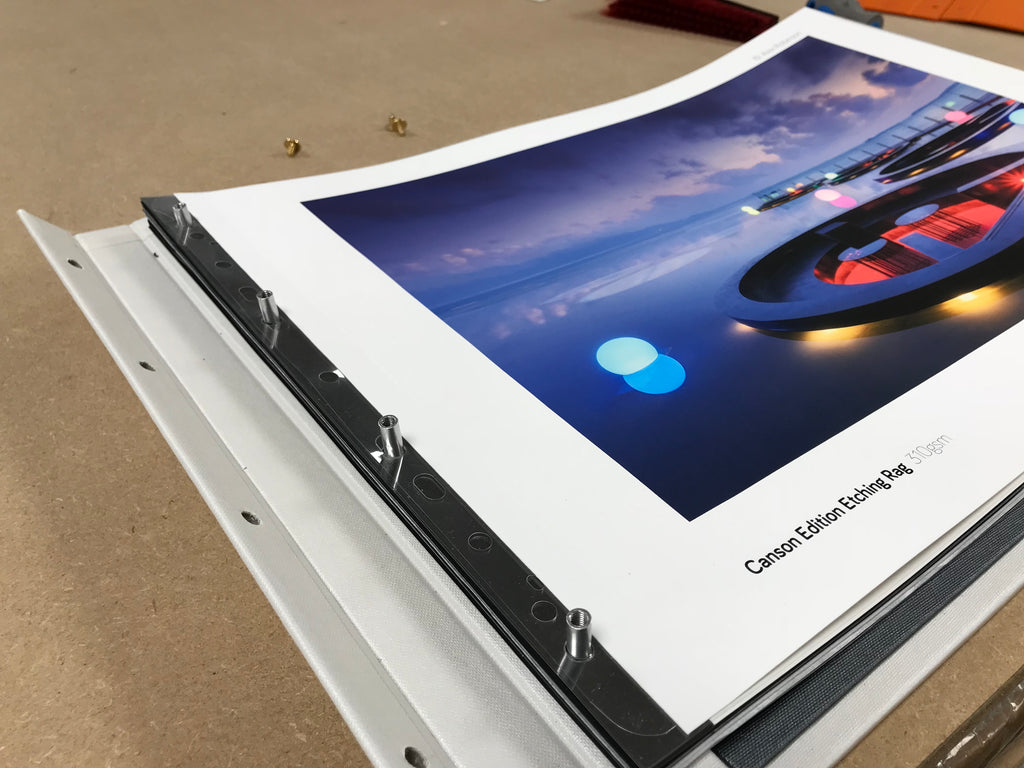
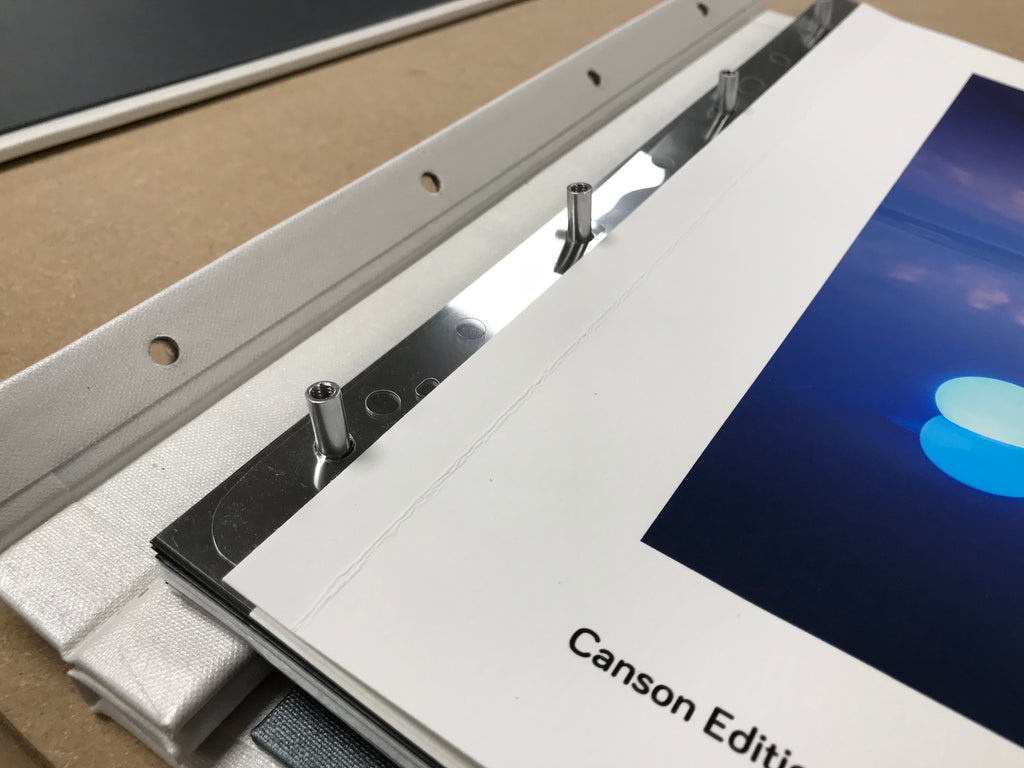
Hinge strips are the perfect solution allowing you to attach your printed work into your portfolio with no damage or struggle. The hinge strips, being perfectly clear, will not ruin the look of your portfolio and being multi punched, are ideal for 2, 3 or 4-ring binders or a screw post portfolio.
The steps below will show you how to put your hinge strips in correctly, and the final product.
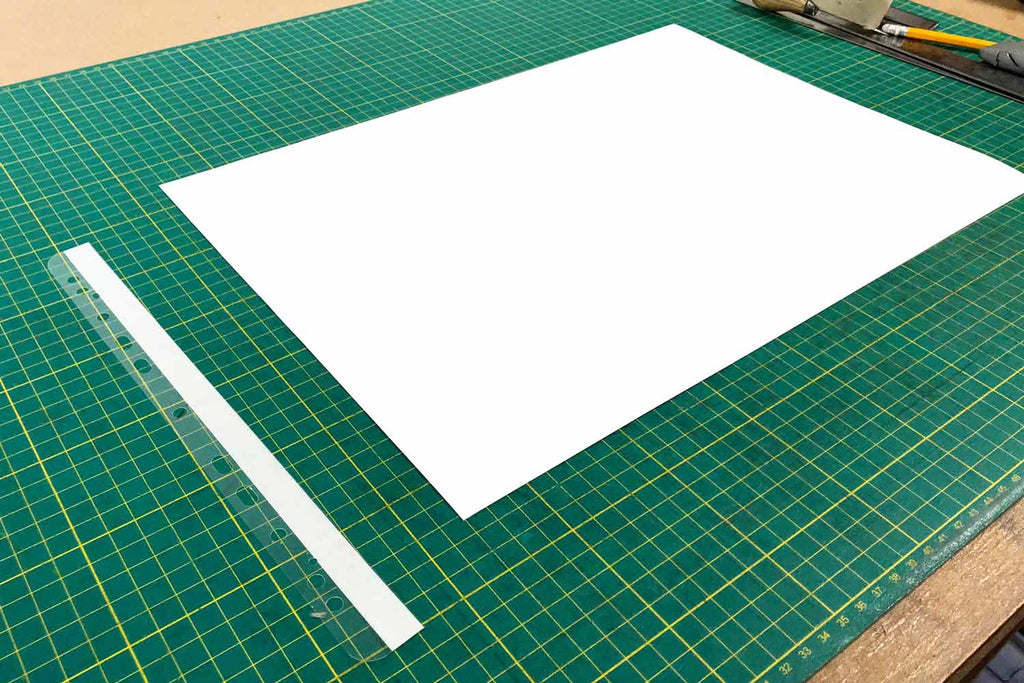
1. You are attaching the hinge strip to the back of your work, so your print must be face down to begin.
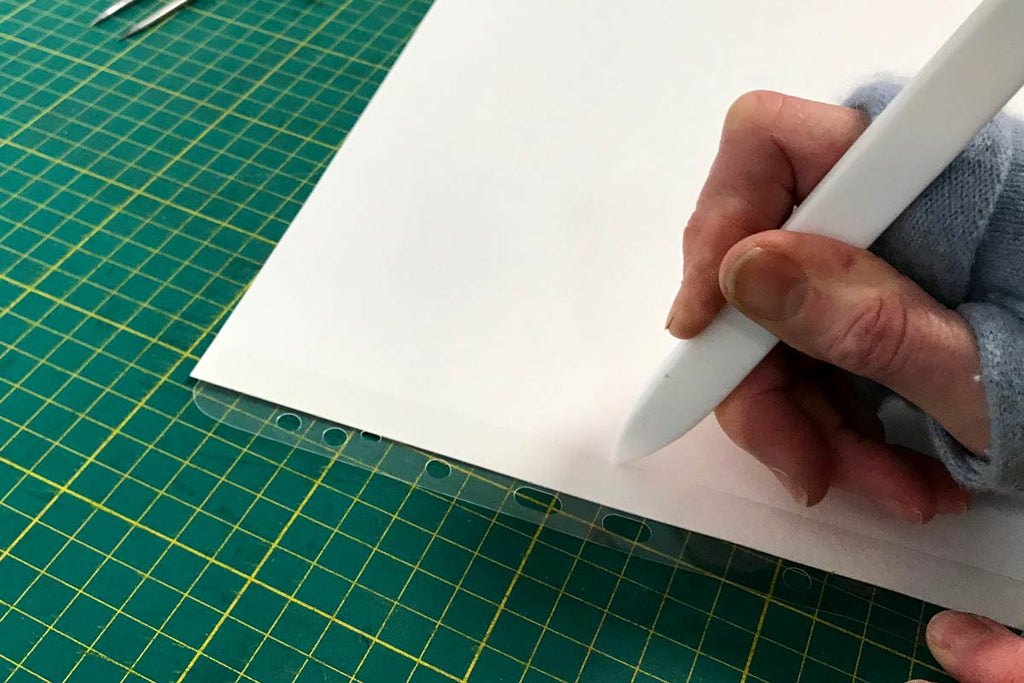
2. Begin with measuring out the size of the hinge strip against the artworks edge. Carefully score along the measured margin. (scoring' means creating a crease so that the page 'hinges' or bends over the edge of the polyester strip).
This process creates a line with which to place the edge of the hinge strip up to.
3. Peel away the adhesive from the hinge strip, the using your scored line as a marker, carefully stick the adhesive edge down to your artwork.
A word of caution! Once these stick, they cannot be removed.
4. Once fixed, score along the same line again, (which should now be along the edge of the hinge strip.)
Another word of caution! Scoring works well with matte paper. With gloss paper it cracks the gloss, and therefore does not look attractive. We therefore would suggest not scoring these papers.
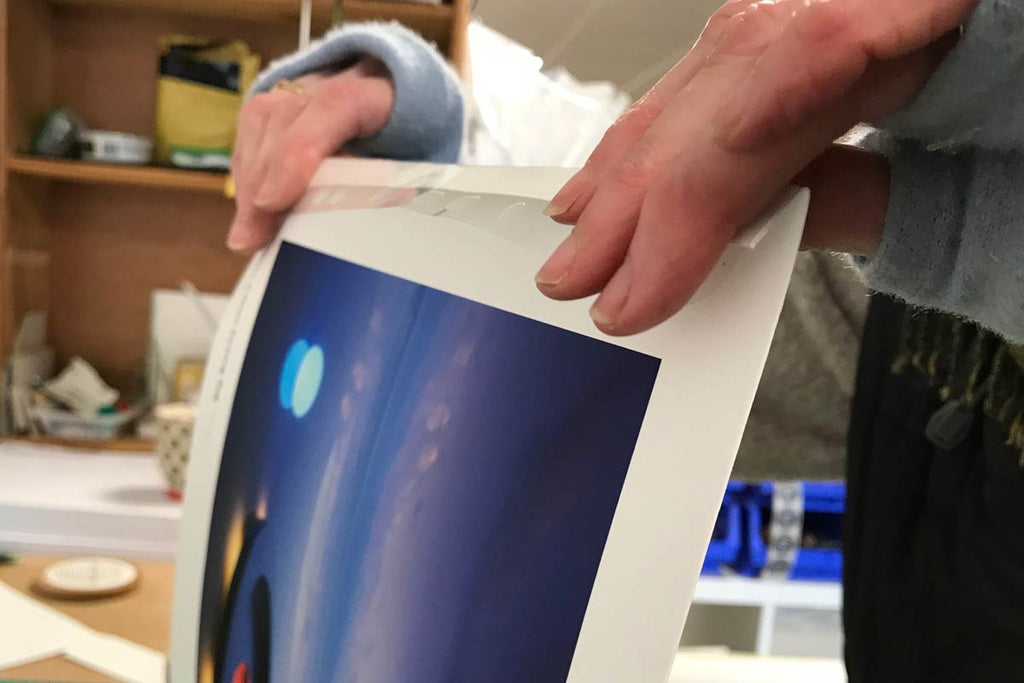
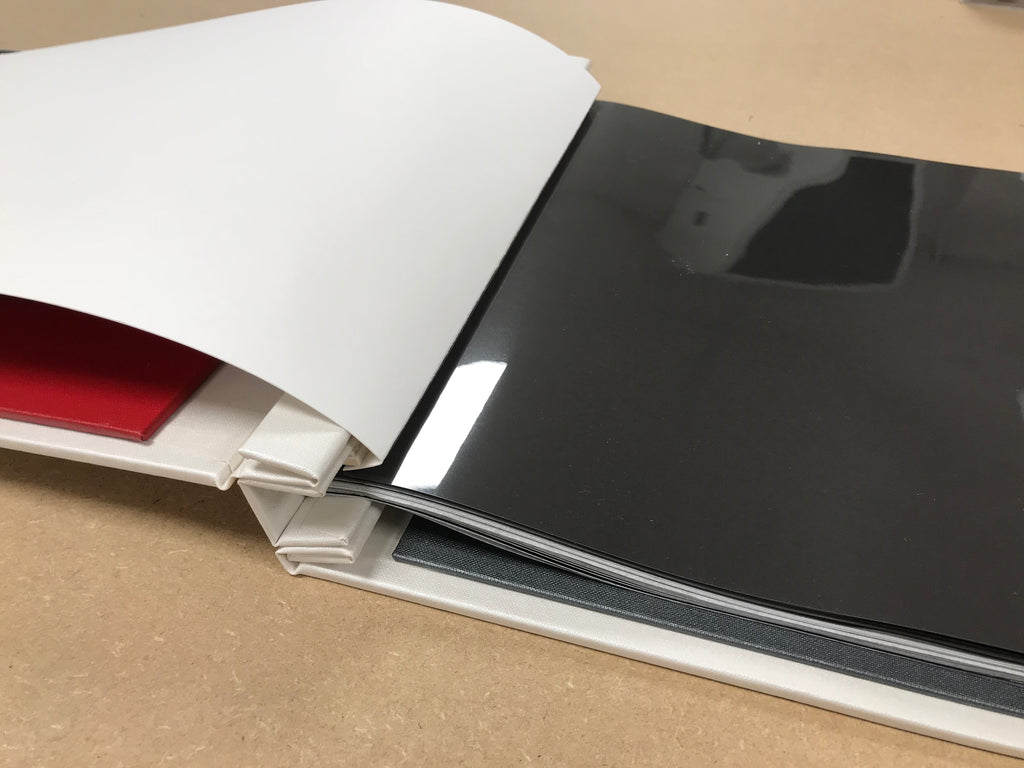
5. Fold your work along the scored line in both directions to ensure an easy page flip once in your portfolio.
6. Place your page into your print portfolio.
7. Re attach the spine cover (if relevant)
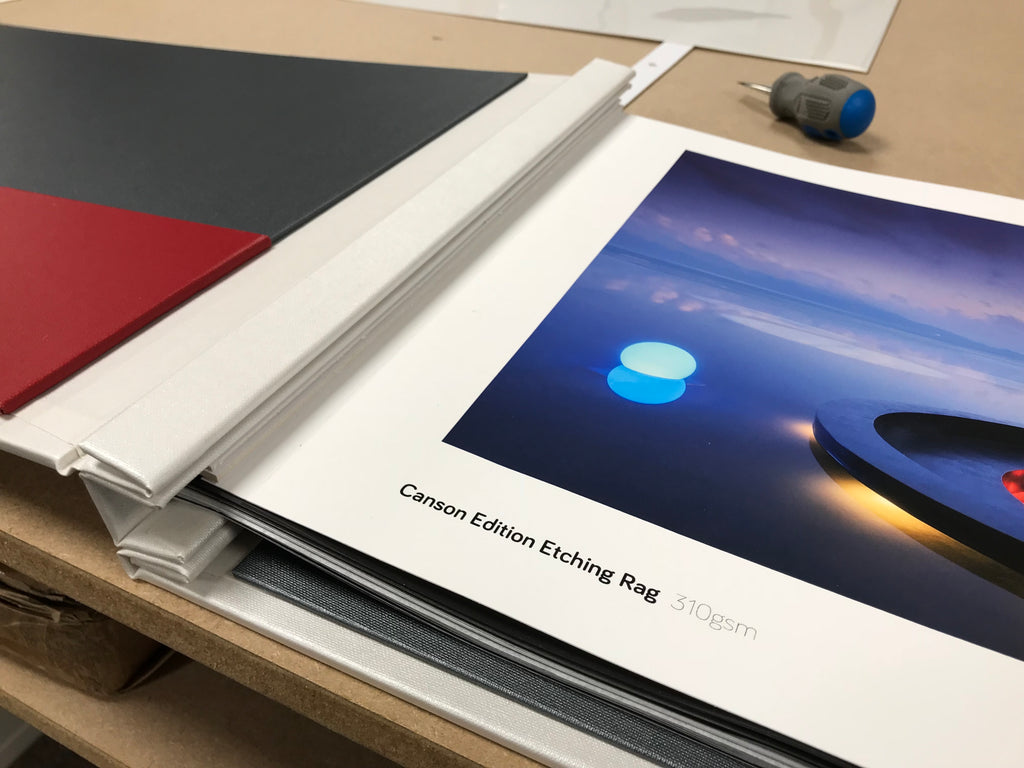
8. As you can see below, the page folds nicely allowing your prints to lie flatter than if not scored.
Our H&Co hing strips can be found here to purchase. We have also put together a helpful guide on photography portfolios and the different options available.
Special thanks to MPrint London for supplying the paper!